Our Social Media Manager Editor is a powerful and easy-to-use tool available to allow you to customize any image or graphic to your taste. In order to help you understand its characteristics and possibilities, here is a short overview of the Editor dashboard.
You can access the editor in a number of different ways, either selecting "Editor" under "Content", selecting an image from "Post Ideas" or "My Ideas", or clicking "Create Image" from the "Create Post" screen.

On the far left, there is a sidebar menu divided into several sections that are as follows:
- Ideas. ALL the templates that have ever been added to the Post Ideas Library are placed in here, so you might spend hours scrolling down.
- Backgrounds. Unlike the 'Ideas' section, this one offers you the search box. Typing an appropriate key word will make it easy to find the best one. Please keep in mind that if you first choose a background and then you pick an idea, the idea will replace the background covering it. But if you choose a background after having picked an idea, it will be fitted into this template.
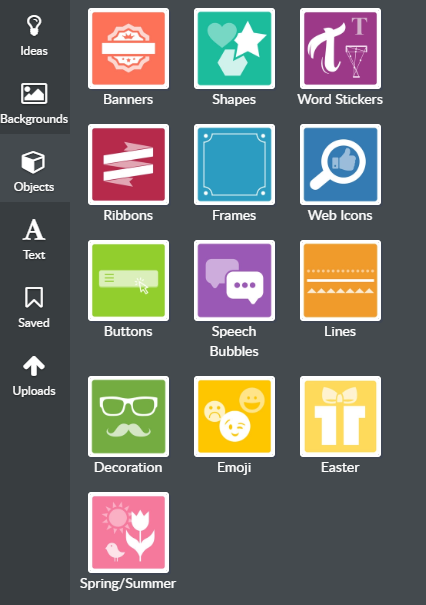
- Objects. For your convenience, graphic objects are grouped in different tabs: Banners, Shapes, Stickers, Ribbons, Icons, Frames, Buttons, Speech Bubbles, Lines, Decorations, Emoji, seasonal groups.
- Text. Add some text and place it on the image. Once you did it, you are offered other options in the pop-up menu, such as font, color, size change etc.

- My Ideas. This section groups pictures that you have previously saved and templates that you have either saved or published into the 'Saved' and 'Recent' tabs respectively. Having these designs at hand, it will be much easier for you to access, edit and re-post any of your previous posts.
- Uploads. This section will display all photos and images you have uploaded into the editor. To add new images, just click the blue "Upload" button at the top to select the images from your computer (hold "Ctrl" to select multiple images at once from your computer folder).


Like you saw above for the "Text", you will see a little menu pop-up when select objects placed in the editor. Some of these options might include the following:

- Colors. Use this to select the color(s) of shapes and objects in the image. The "Palette" tab will show some standard colors as well as any custom colors being used for shapes or objects in the graphic. You can use "Custom" to select a specific color or insert a color "hex code."
- Opacity. Use this option to adjust the translucence of a particular item.
- Flip Image. Use the icons to flip an object horizontally or vertically. You can also use the rotate icon that appears just below the select item to rotate the object freely.
- Layers. Use this to move the object forward or backwards through the layers of objects, images and text. This can be useful when setting an image as a background or bringing your text to the front.
- Duplicate. Create a copy of the selected object.
- Delete. Remove the selected object from the image.
There are a few more options in the Editor worth going over.
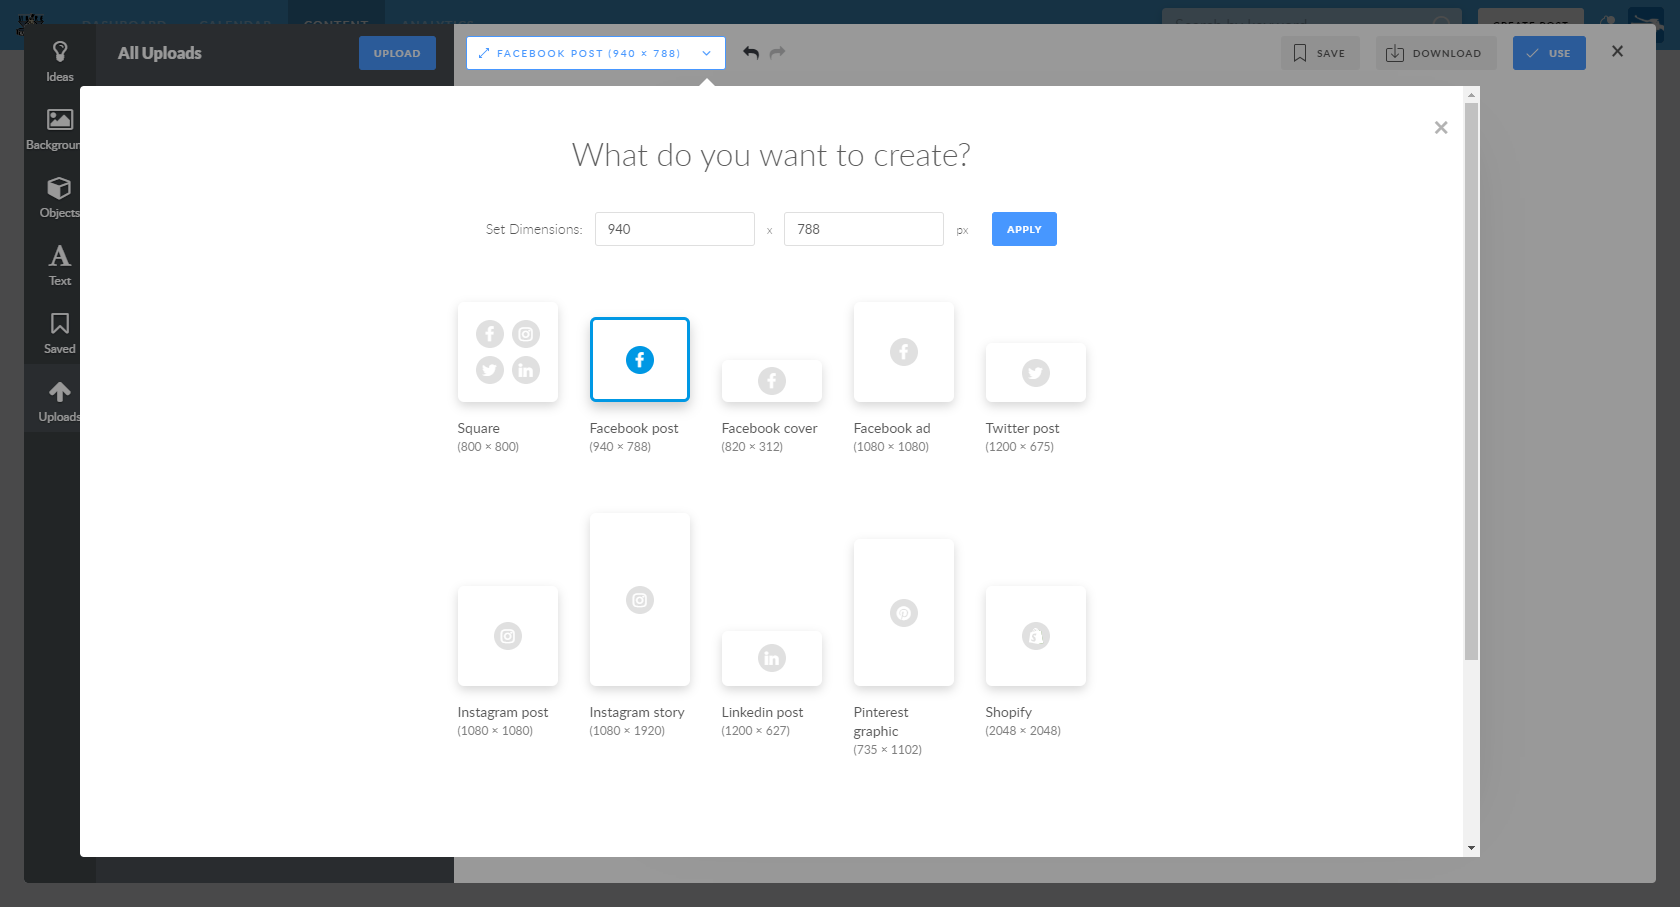
- Image Dimensions. Select the button at the top to select one of the pre-determined ideal image sizes for different types of Social Media posts, or set your own dimensions!
- Undo and Redo. What's an editor without our trusting "Undo" button. Click the little arrows at the top to undo or redo any action.
- Download. Click the "Download" button in the top right to download your graphics as .PNG type image files.
